Table of Contents
If you have cables, wires, or cords that you need to hide outdoors, there are various ways of keeping them secure, safe, and hidden. These methods of how to hide outdoor cables allow you to do the job yourself quickly and easily.
How to Hide Wires on Side of House
When deciding how to hide outdoor cables on the side of a house you can choose from hiding them behind features or plants, inside the walls, with cable covers, underneath siding panels or roof eaves, or with paint.
Hiding Cables Behind Features or Plants
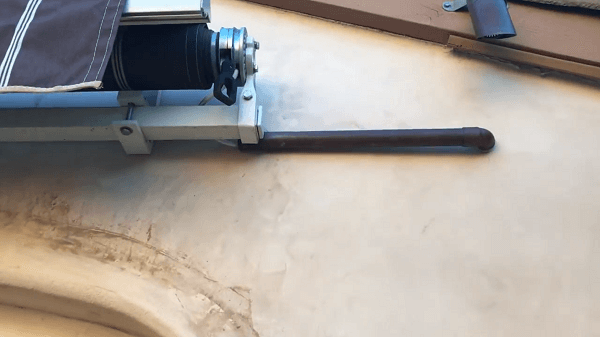
Sometimes, hiding cables is as simple as finding a structure they can hide behind. For example, you can them behind a rain gutter, pillar, or trellis. Another option is to hide them behind bushes or trees that are next to your house. For example, you can run a cable along the wall directly behind a box hedge, and nobody will ever be the wiser.
If you’re dropping cables down from the attic, this is an excellent option because you can choose to drop them down behind your rain gutter or other structure rather than elsewhere. And if you’re running cords along the wall behind an evergreen hedge, you don’t need to attach it to the house at all. Just use a weatherproof connection box if you need to connect two power cords together.
The only con to this is that it can be a more obvious option if you use zip ties to secure the cables to the structure.
Follow these steps to hide cables behind features of plants.
- Step 1: Bind the wires together with zip ties, split wire conduit tubing, or a wire loom split sleeve.
- Step 2: Hide the cables behind the structure or plant.
- Step 3: Secure the cables to the wall or the structure with zip ties with screws or cable clips.
Hiding Cables Underneath Siding Panels or Roofing
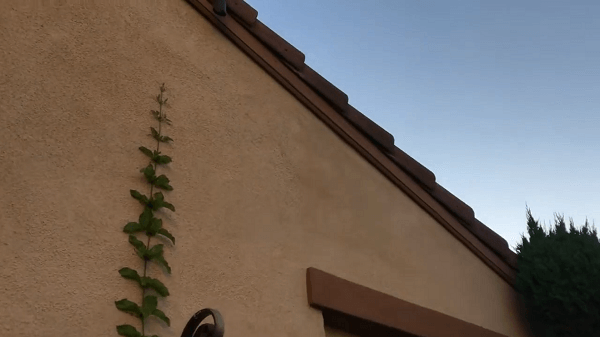
Hiding cables underneath siding panels or roofing has the advantage of keeping them hidden away and safe from the elements.
To hide your cables underneath your side panels or roofing, follow these steps.
- Step 1: Bind the wires together with zip ties, split wire conduit tubing, or a wire loom split sleeve.
- Step 2: Hide the cables underneath a siding panel or underneath the roof eaves.
- Step 3: Secure the cables to the wall or the structure with zip ties with screws or cable clips.
Painting Your Cables
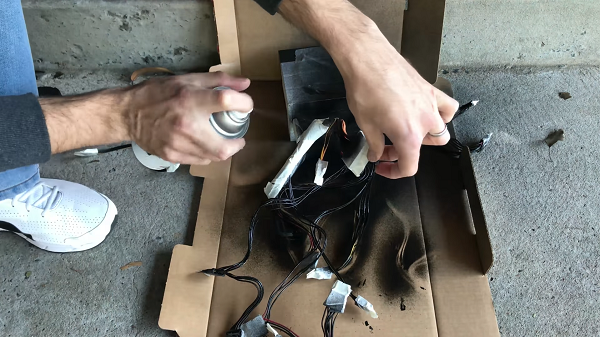
Painting your cables to match your house can be a secondary step to disguising cords that you hide behind structures, behind plants, under siding, or under the roof.
One positive aspect of painting your cable wires is that the paint can act as a UV protectant and even extend the life of your cable wires.
Unfortunately, the paint may begin to flake over time. So, you will likely have to apply another coat semi-regularly.
To paint your cables, follow these steps.
- Step 1: If you take a sample of your house paint to a paint supply store, they can match the color. Spray paint may be the easiest choice.
- Step 2: Place the cables on a protective surface, paint, and allow them to dry. Repeat for each side.
- Step 3: Connect the cables to the wall with cable clips or zip ties. Or you can use your preferred method for hiding your cables.
How to Hide Cables in Your Yard
The most common ways to hide cables in your yard are to bury them underground or use an outdoor cable protector.
Burying Cables Underground
If you’ve ever watched your cable or telephone company put in or dig up cables in your yard, you’ve most likely seen them bury them inside an enclosed hose.
Using a non-split tube is important to prevent groundwater from seeping in. It can also be a line of defense against cable damage in case of accidental digging in the area.
The only negative is that, since the hose isn’t slit, it’s more challenging to feed the cables through. If there’s a plug on the end of any of the cables, you’d have to find a tube wide enough to accommodate it sliding through.
To bury cables underground follow these steps.
- Step 1: Before you start digging, it’s vital to contact your utility companies to mark your yard where other cables are already buried. You don’t want to accidentally dig into them.
- Step 2: Check with your city or county to find out if you need a permit for digging.
- Step 3: Feed the cables through a rigid metal conduit, PVC conduit, or flexible metal conduit.
- Step 4: Dig and bury the conduit underground. The depth you need to bury it is at least six inches for a rigid metal conduit or 18 inches for a PVC conduit or flexible metal conduit.
Using a Cable Protector
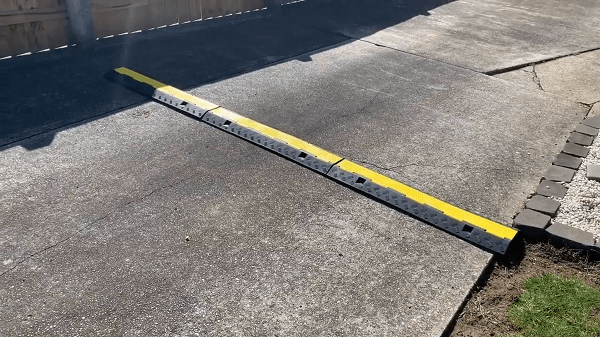
If you want to hide a cable that needs to traverse a surface like your porch, paved path, or even a driveway, you can use an outdoor cable protector.
Some nice features of cable protectors are that they are easy to slip cables inside and easy to walk over or roll wheels over. They also come in a variety of colors and lengths.
The main negatives are that they need to be placed on a flat surface, can cause some people to trip, and may not be able to accommodate a lot of cables.
To use a cable protector, is fairly easy.
- Step 1: Insert the cables underneath the protector.
- Step 2: Place the protector on a flat surface.
Outdoor Cable Covers
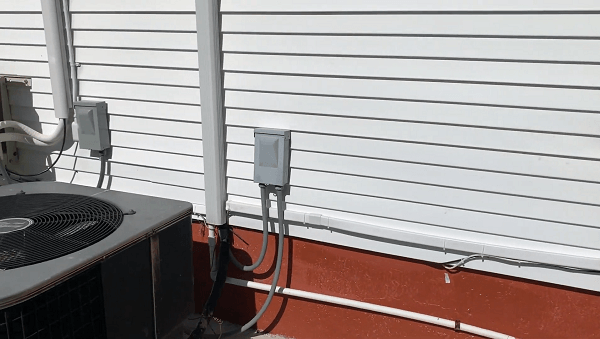
Outdoor cable covers provide extra protection from the elements and can help collect the cables all in one place.
Fully-enclosed cable covers fully enclose your cables, giving them the best protection from the elements. However, partially enclosed cable covers have more chance of water seepage since they’re not fully enclosed. However, they have fewer parts than full-enclosed cable covers, often giving them a cleaner look.
When looking for outdoor cable covers for the side of your house, consider these factors:
- Color: Try finding one that matches the color of your house or choosing one that you can paint to match the color of your house.
- Connectors: Look for ones that include various connectors for connecting shorter connectors or turning corners.
- Attaching: You also want ones that include anchors and screws instead of ones that rely solely on adhesives that can fail or damage your paint.
Here are the steps for installing cable covers.
- Step 1: Clean the wall surface if possible.
- Step 2: Measure and mark where you want to install the cover, especially if it’s important to keep it at a level height.
- Sept 3: Attach cable cover. Use enclosed adhesives, screws, and anchors to attach the cable cover.
- Step 4: Add the cables inside the cover channel.
- Step 5: Install connectors in places where it’s necessary to connect sections or to change directions.
- Step 6: Place the cover on top to enclose if using a fully-enclosed cable cover.
How to Hide Wires Outside a Brick Wall
You can use the same methods from above for hiding wires outside a brick wall. However, making sure the cables are well connected to the wall is something else. The best spot to connect a cable to a brick wall is the lines between the bricks (where the mortar is).
You can use cable clips with screws (be sure to use masonry screws) or with nails. You could also dig into the wall but that is more work than you want.
Tip: Consider Colors
If you have multi-colored bricks, painting a cable cover to match the bricks may be tricky and may not completely blend in. So, you might consider putting the cables in a place where they’re more likely to be out of sight, like under roof eaves, behind structures, or behind plants.
If you have more homogeneously-colored bricks, you can choose a brick-colored spray paint or let your local paint store color match your bricks for you.
Tools and Supply’s
- Cable clips
- masonry screws or nails
- Masonry nail plugs
- A hammer
- A drill
- Spray paint in the same color as your wall
1. Plan ahead
Make sure you plan a path for your cable on the wall. You also want the cable to run along the mortar as much as possible. Mortar is easier to work with (to drill or hammer nails into), though you can damage the brick if not careful.
2. Spray paint your cable to match your wall
Spray paint the cable to a color that is going to make it blend in.
3. Drill holes
You want the cable clips every 12 inches (30 cm/1 foot) or more. You also want to plan the cable path the best you can, to avoid cable sag.
If you are using nails you can skip this step.
4. Put the cable on the wall
Go with one clip at a time and connect them to the wall. Work your way from one end to the other, making sure the cable isn’t lose, but also don’t strain it.
Frequently Asked Questions
Here is some other information you may want to know about hiding cables outside.
How can I protect my cables outside?
The best way to protect your cables outdoors is by securely attaching them to a surface, like the side of your house or underneath a roof overhang. A cable cover box or protector can protect cables from the elements outside, while a cable conduit can protect them underground.
What is a cable guard?
A cable guard protects cables from traffic. You can use them to hide cables that you need to run across your driveway or across a road on your property.
Do cable protectors work?
Yes, cable protectors work. They work by preventing cable damage from the weather, pulling, bending, traffic, and more. They extend the life of your cables by months and even by years.
Why is cable safety important?
Cable safety is important because as they degrade over time, the risk of damage to your electrical devices, home, and yard increases. You may risk electrical outages and fires if you do not practice cable safety.
Hiding outdoor cables
Now that you know how to hide outdoor cables, you can get more of your cables out of sight. However, be sure to hire a trained electrician if there are raw electrical wires involved.
If you need to use and hide an electrical extension cord outside, be sure to check out our Outdoor Extension Cord Buyer’s Guide for the best outdoor extension cords.

